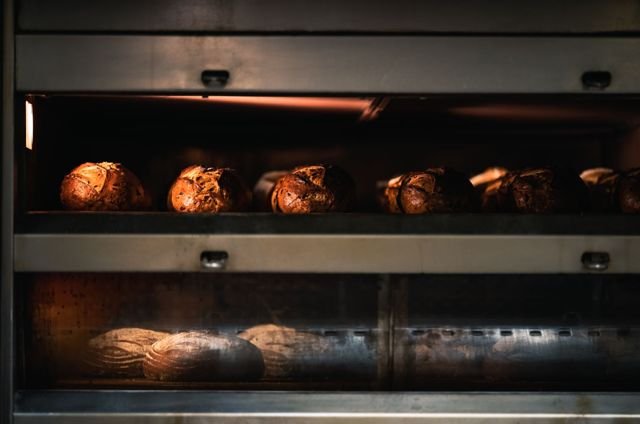
Reading the Dough: A Practical Guide to Proofing Bread
Recipes give you proofing times, but dough does not own a clock. Here is how to read rise, feel and the poke test so your loaves come out tall, open and full of flavor.
When I started baking bread in a restaurant kitchen, the head baker took away my timer. Not to be cruel, but to make a point: the recipe could tell me roughly how long the dough would need, but only the dough could tell me when it was ready. Proofing is the stage where most home loaves go wrong, and almost always because the baker trusted the clock instead of their eyes and fingers.
This guide covers yeasted breads such as sandwich loaves, rolls and simple country loaves. Sourdough follows the same principles, just more slowly.
What proofing actually does
Once you mix flour, water, salt and yeast, the yeast begins eating sugars in the flour and releasing carbon dioxide and a range of flavorful byproducts. The gluten network you built by kneading or folding traps that gas, and the dough rises. At the same time, enzymes are breaking down starches and proteins, developing flavor and softening the dough.
There are usually two rises. The first, often called bulk fermentation, happens after mixing, while the dough is in one mass. The second, the final proof, happens after shaping. Both matter, and each has its own signs.
Temperature is the real timer
Yeast is extremely sensitive to temperature. A dough that doubles in one hour in a warm kitchen at 80F might take two and a half hours at 68F. That is why times in recipes should be read as a rough guide.
You can take control by managing the temperature of the dough itself. Use slightly warm water in winter and cool water in summer, aiming for a mixed dough around 76F. An instant-read thermometer poked into the dough takes the guesswork out. Then find a steady spot to let it rise: an oven with only the light switched on, the top of the fridge, or a cooler with a pot of warm water inside.
Reading the first rise
During bulk fermentation, you are looking for three things.
- Volume. Most enriched and sandwich doughs should roughly double. Lean country doughs are often ready at around 50 to 75 percent larger. A straight-sided container with a strip of tape marking the starting level makes this easy to judge.
- Texture. The dough should look domed, smooth and slightly puffy, with some bubbles visible on the sides of the container.
- Feel. When you gently press it, it should feel airy and soft, almost like a marshmallow, rather than dense and tight.
If the dough has barely moved after the time given, it is not a failure. It is cold. Give it more time somewhere warmer.
Shaping sets up the second rise
Tip the dough out gently. You want to keep much of that gas while creating surface tension. Fold the edges in toward the center, flip it seam side down, and drag it toward you across an unfloured patch of counter so the skin tightens. A well-shaped loaf holds its form and rises upward rather than slumping sideways. Place it in a greased pan or a floured basket, cover it, and let it proof again.
The poke test
The final proof is usually shorter than the first, and it is easy to overshoot. The most reliable tool is your finger. Lightly flour a fingertip and press about half an inch into the side of the loaf, then watch.
- If the dent springs back immediately and completely, the dough is underproofed. Give it more time.
- If the dent springs back slowly and leaves a small impression, the dough is ready to bake.
- If the dent stays put and does not spring back at all, or the dough sighs and deflates a little, it is overproofed.
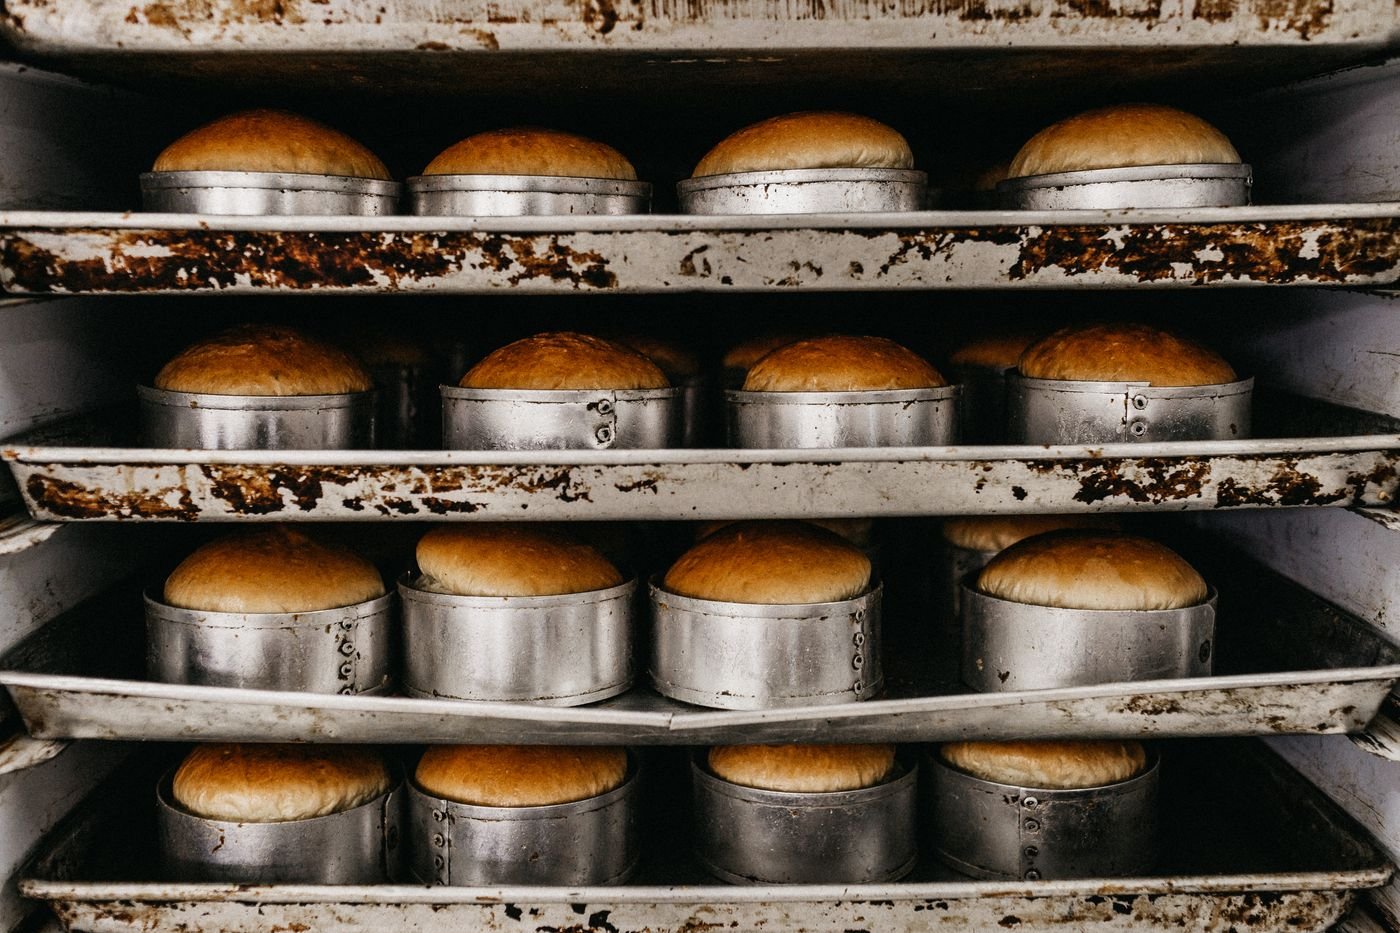
For loaves baked in a tin, another good sign is height: most sandwich loaves are ready when the dough crowns about an inch above the rim of the pan, like the tall, domed loaves on a bakery rack.
What goes wrong, and how to fix it
Underproofed bread tends to be dense with a tight crumb, and it often bursts open irregularly on one side in the oven, because the yeast still has too much energy when the heat hits. Next time, wait longer or proof somewhere warmer.
Overproofed bread spreads, flattens and may collapse in the oven. The crumb can be coarse and the flavor slightly sour or boozy. If you catch it before baking, you can gently reshape the dough, let it rise again briefly, and bake it. The loaf will not be perfect, but it will be far better than baking a collapsed one.
Using the fridge to your advantage
Cold slows yeast dramatically without stopping it. That is a gift. You can mix dough in the evening, let it start rising for an hour, then refrigerate it overnight and continue in the morning. You can also shape loaves and proof them in the fridge for 8 to 16 hours, then bake straight from cold. Slower fermentation develops noticeably deeper flavor, and it lets bread fit around your day instead of the other way around.
Cold dough is also easier to score cleanly. Just remember that it will be slower to pass the poke test, so let it sit at room temperature for a little while if it still springs back too fast.
Trust your hands
Take notes each time you bake: the room temperature, how long each rise took, what the poke test felt like, and how the loaf turned out. After four or five loaves you will start to recognize ready dough by sight, and that skill will outlast any recipe.